Next: Developer's Section Up: Overview on Color Management Previous: How CINELERRA-GG works Contents Index
Let us give an example of color workflow in CINELERRA-GG. We start with a source of type YUV (probably: YCbCr); this is decoded and converted to the chosen color model for the project, resulting in a temporary. Various jobs and conversions are done in FLOAT math and the result remains in the chosen color model until further action. In addition, the temporary is always converted to sRGB 8-bit for monitor display only. If we apply the ChromaKey (HSV) plugin, the temporary is converted to HSV (in FLOAT math) and the result in the temporary becomes HSV. If we do other jobs the temporary is again converted to the set color model (or others if there is demand) to perform the other actions. At the end of all jobs, the obtained temporary will be the basis of the rendering that will be implemented according to the choice of codecs in the render window (Wrench), regardless of the color model set in the project. If we have worked well the final temporary will retain as much of the source color data as possible and will be a good basis for encoding of whatever type it is.
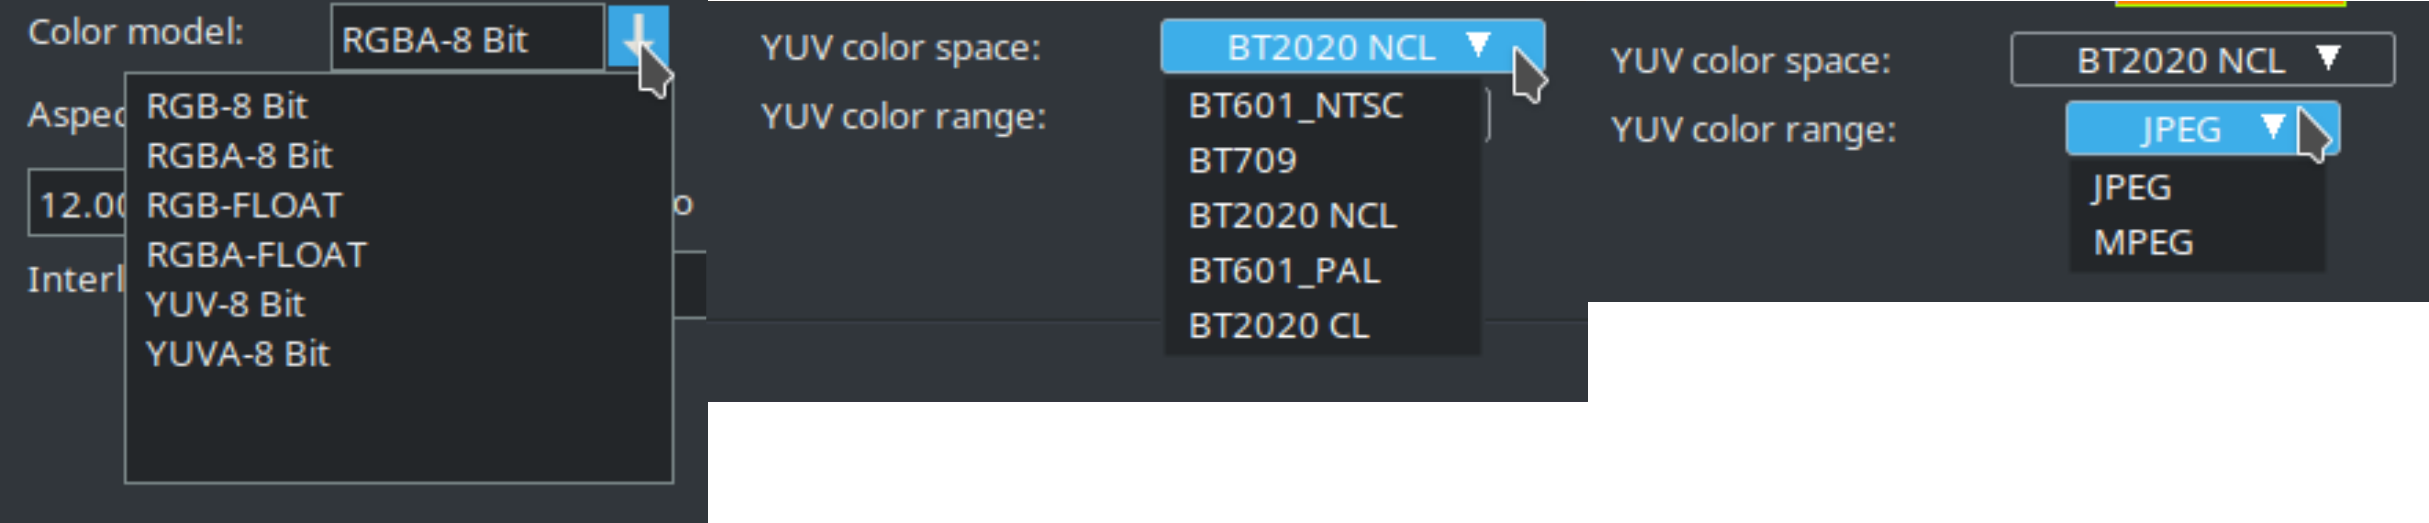
For practical guidelines, one can imagine starting with a quality file, for example, 10-bit YUV 4.2.2. You set the project to RGBA-FLOAT; the YUV color space to your choice of Rec709 (for a FullHD) or BT 2020NCL (for UHD) and finally the YUV color range to JPEG. If the original file has the MPEG type color range then you convert to JPEG with the ColorSpace plugin. If you want to transcode to a quality intermediate you can use DNxHR 422, or even 444, and maybe do the editing step with a proxy. For rendering you choose the codec appropriate for the file destination, but you can still generate a high-quality master, for example ffv1 .mov with lossless compression.