Next: Info Asset Details Up: Interface (the 4+ Windows) Previous: Timebar + Preview Region Contents Index
Effects, transitions, labels, clips, proxies, user bins, and media assets are accessed here. Most of the resources are inserted into the project by dragging them out of the resource window. Management of resource allocation is also performed here.
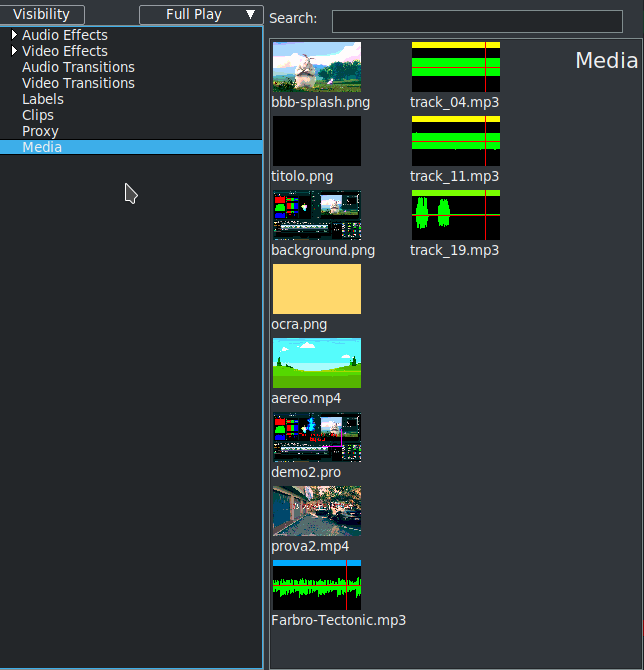
The resources window is divided into two areas (figure 2.24. One area lists folders and another area lists the folder contents . Going into the folder list and clicking on a folder updates the contents area with the contents of that folder. The folders can be displayed as icons or text. There are several variations for displaying the contents; select Display text, Display icons, Display icons packed, Display icons list as types of display for the assets or plugins. Use the letter “V” to easily scroll through the choices and see which you prefer. You can also get to these options from the menu by a right mouse click in the window.
A Search option is available for any of the folders in the Resources window (and when using Attach effect on the main track canvas for the Plugins). As you type in characters a match is made with that substring. Names that do not match are filtered out making it a lot easier to find the item you are looking for. The characters can be any where within the phrase and it does not matter if upper or lower case.
Other options you will see if you right mouse click in the folder which brings up the menu are described next .
Using the right mouse click to bring up a menu in the folder area , you can also switch from Display text to Display icons, Sort items and create, delete and manipulate user defined folders/bins. Select Folder to create a user Folder or modify an existing folder.
If you right mouse click on a highlighted/selected resource, several options are available depending on whether the resource is an effect or transition or a piece of media. You can highlight several for some options so that it is applicable to all of them, such as Info. Those listed immediately below are the available choices for media assets .
In the case of Effects or Transitions , a right mouse click on a highlighted selection leads to an Info button which gives a short 1 line description of what the effect/transition can be used for. For Labels , choices are Edit, Label, and Go to. For Clips , Nest and UnNest as described elsewhere are available.